ThinkVolt at Solar & Storage Expo Pakistan 2026: Connecting with Pakistan’s Energy Storage Market
2026-07-23
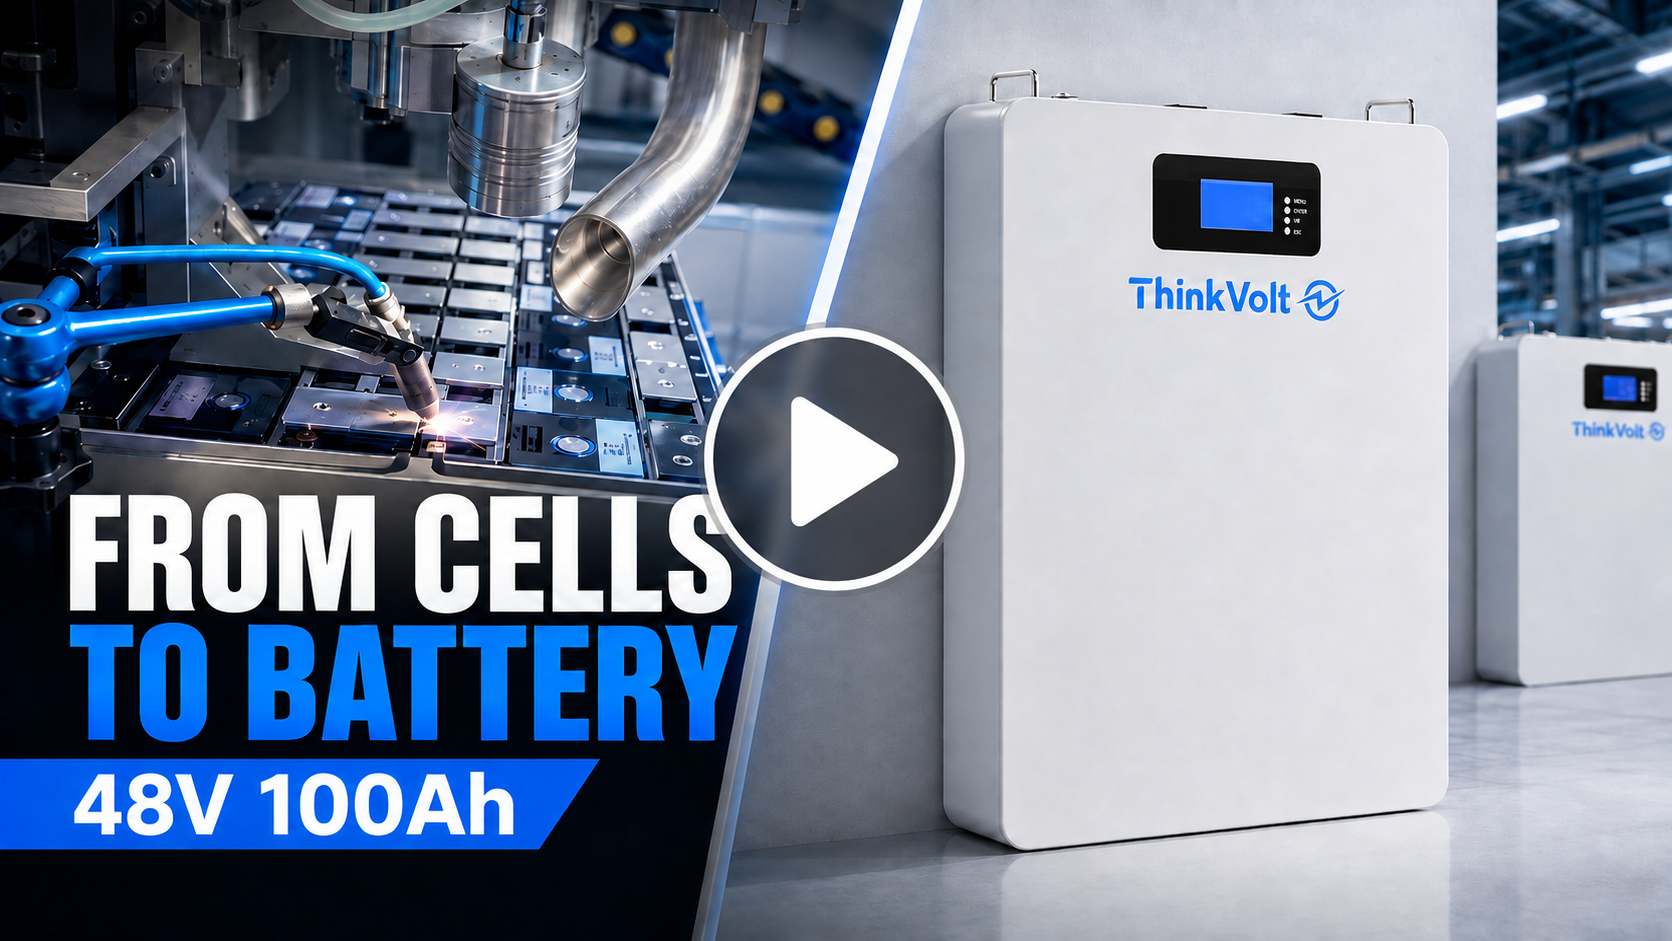
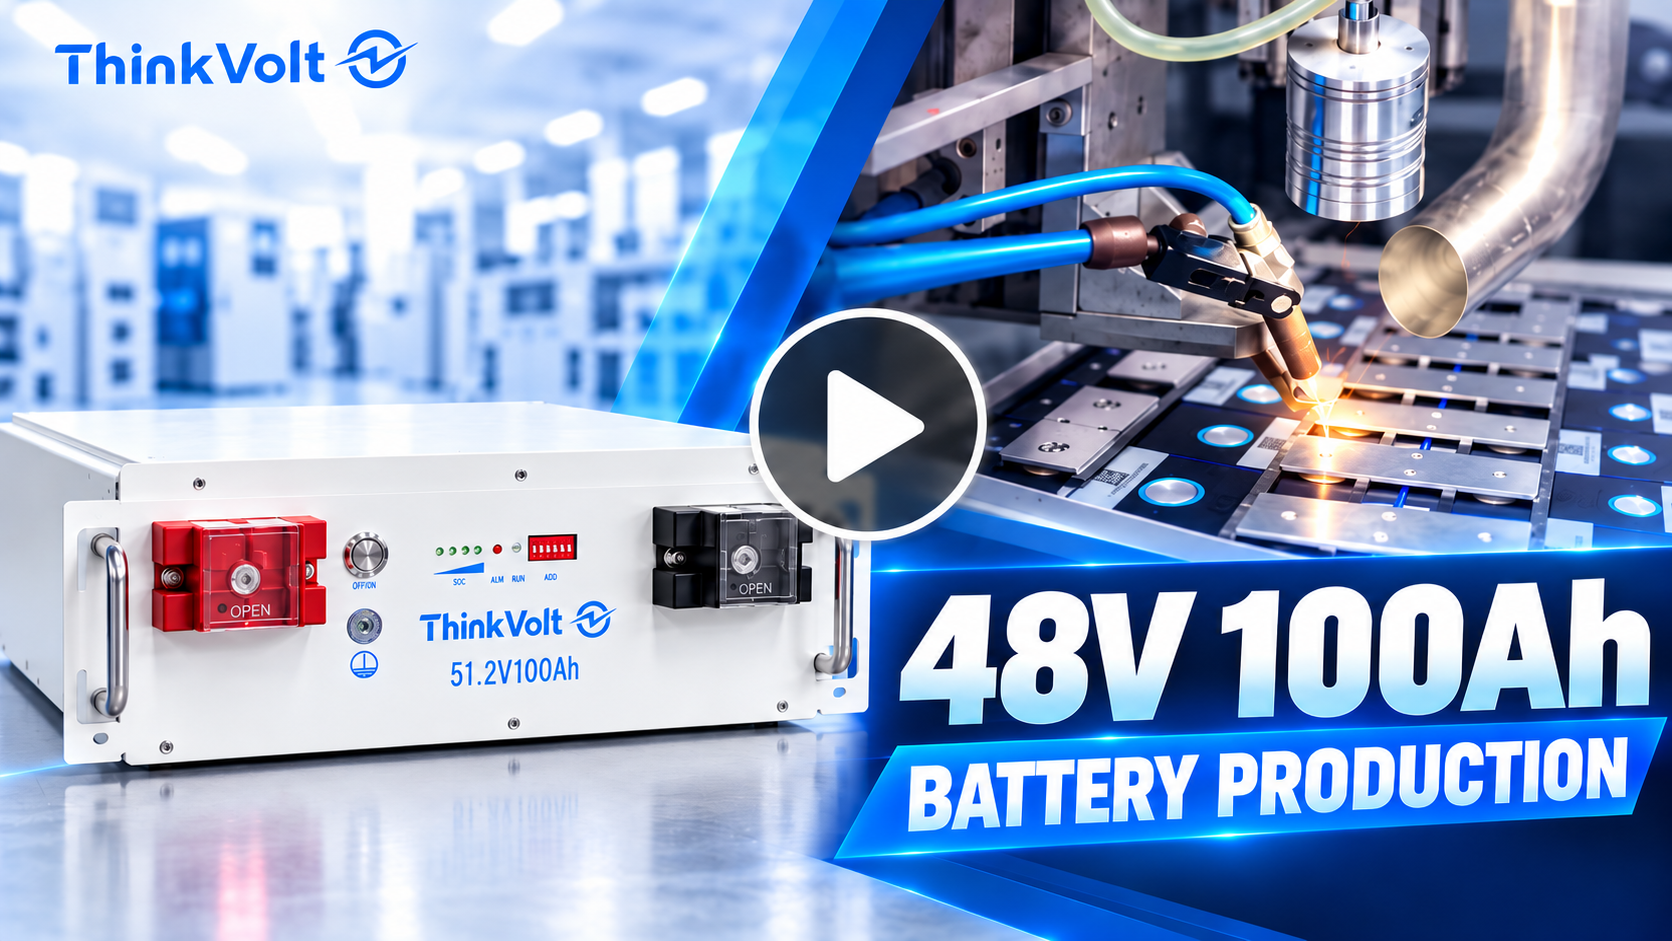
In this article, we take you inside the production process of our 48V-class 100Ah LiFePO4 home energy storage battery and show how the battery pack is built step by step.
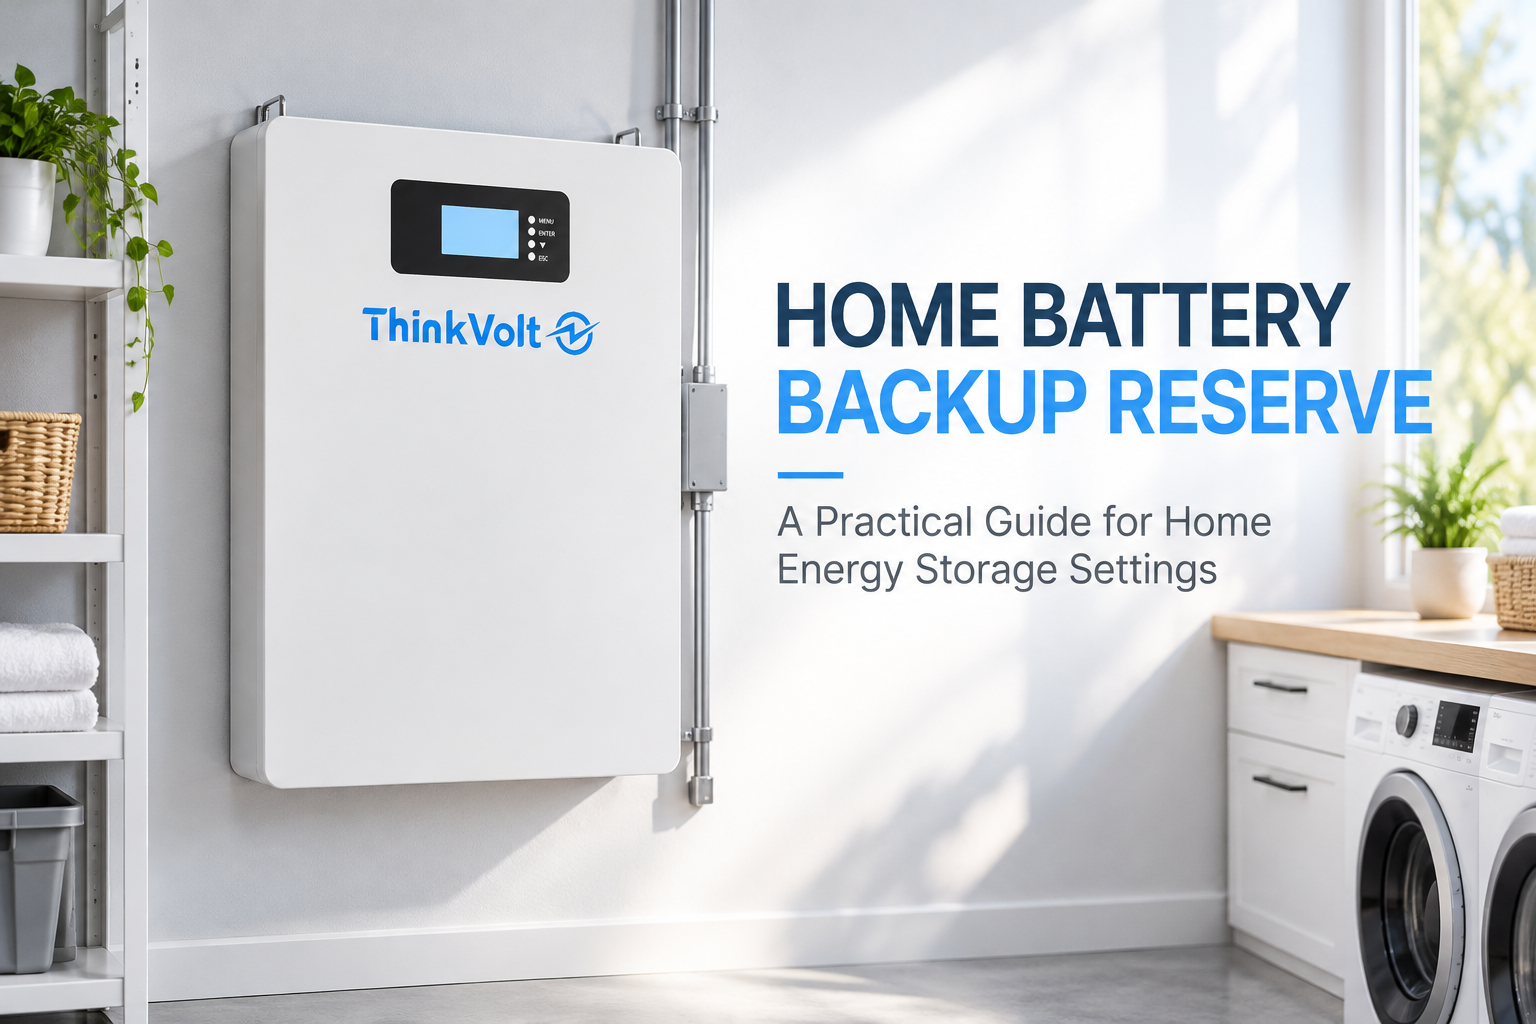
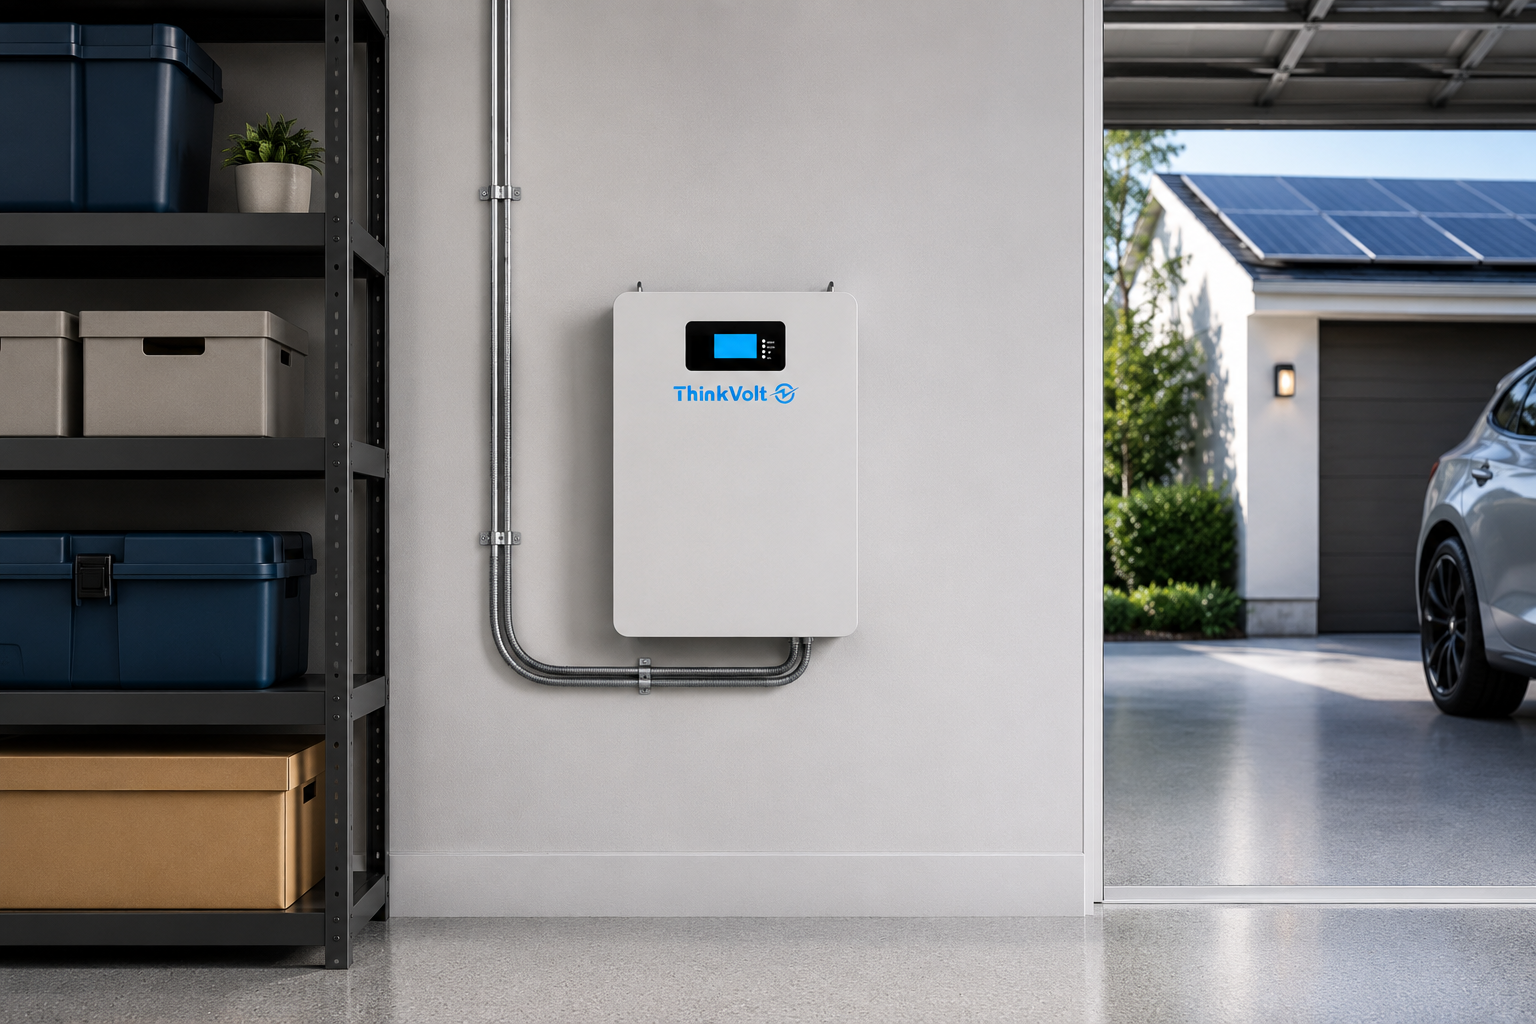
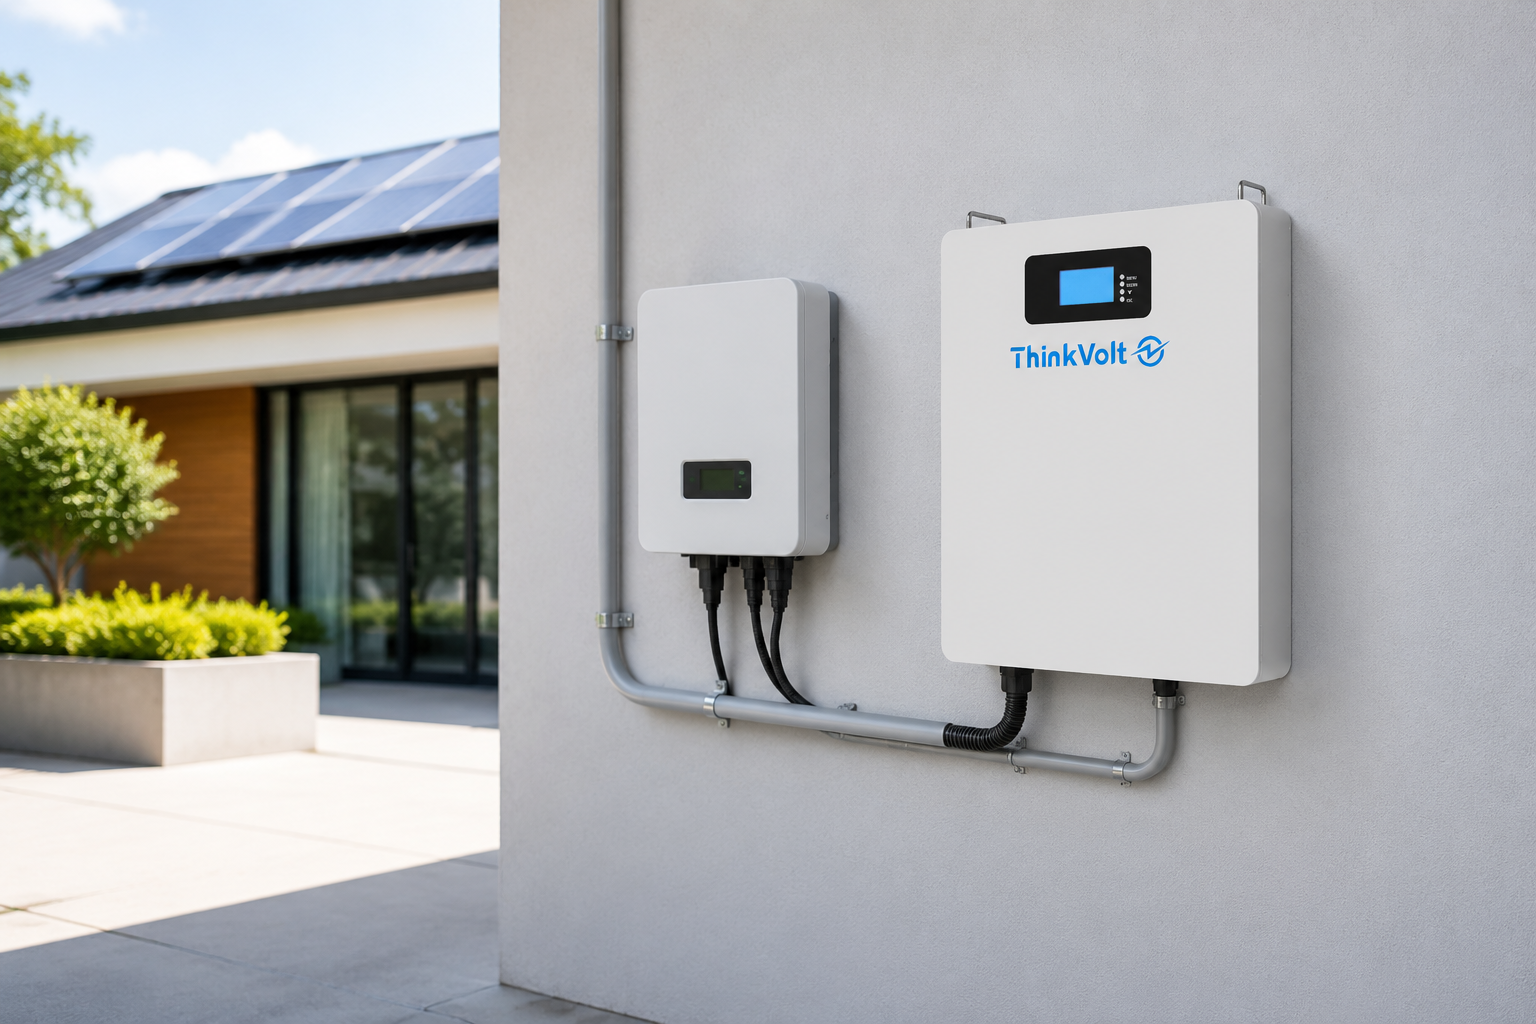
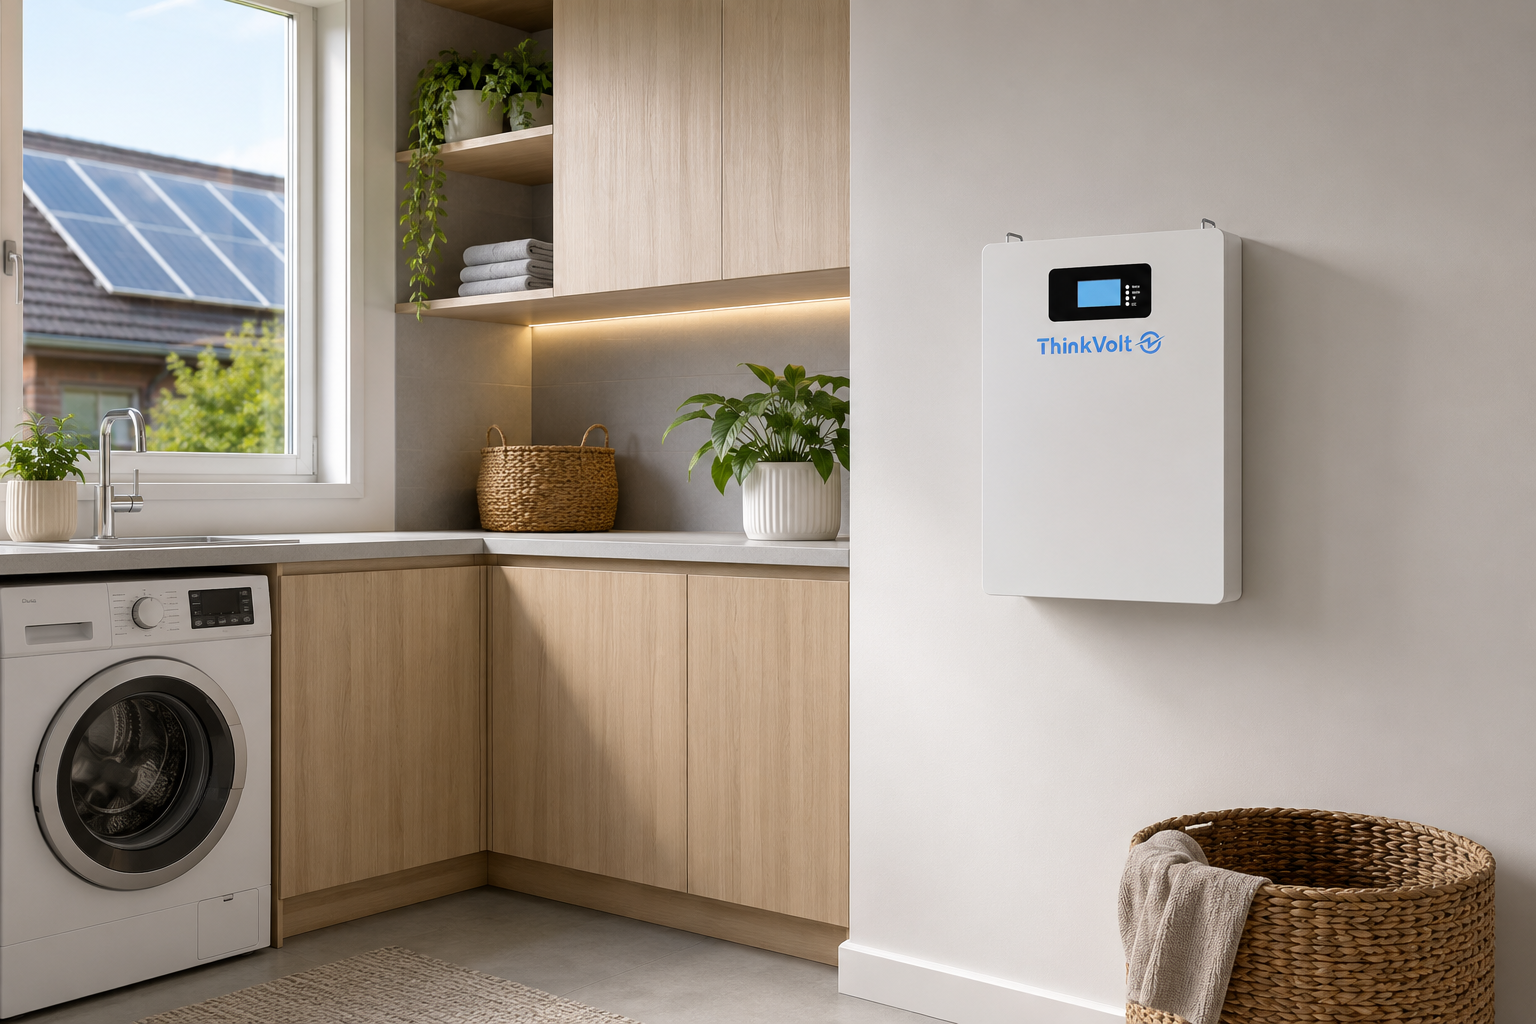
The model shown in this process has a rated voltage of 51.2V, a capacity of 100Ah, and an energy capacity of 5.12kWh. It is designed as a wall-mounted battery for residential energy storage applications.
Watch the full production process below, or continue reading for a step-by-step explanation.
Building a battery pack is not simply a matter of putting cells into a metal case. The cells need to be positioned correctly, electrical connections need to be reliable, internal wiring needs to be organized, and the finished battery needs to pass functional testing.
Here is how the process works.
Production begins with the battery housing and internal structure.
The circuit board is installed on the outside of the cell holder, and the metal frame is then fixed inside the battery enclosure with screws.
This frame provides the basic structure for the following assembly steps and helps keep the battery cells and other components in the correct position.
Next, the LiFePO4 cells are placed inside the battery enclosure.
Separators are installed between the cells. These help provide electrical insulation and reduce direct friction between neighboring cells.
Some space is also kept between components to allow for normal movement and vibration during transportation and use.
Correct cell positioning is important because the rest of the battery pack assembly depends on a stable and organized internal structure.
After the cells have been installed, the voltage of each cell is checked.
The measurement results are recorded on a computer.
This is an important part of the production process because it creates a record for the individual cells used in the battery pack.
If an abnormal cell needs to be investigated later, recorded production information makes the problem easier to trace.
For energy storage customers, this kind of traceability is often just as important as the finished product itself.
Once the cell inspection is complete, aluminum connection plates are installed on top of the cells.
These plates electrically connect the cells inside the battery pack.
The plates include positioning points that help keep them aligned before welding.
Accurate positioning matters because poor alignment can affect the quality and consistency of the electrical connection.
The assembled battery pack is then moved to the laser welding machine.
Laser welding is used to create the electrical connections between the cells and the aluminum plates.
Compared with manual welding, an automated laser welding process can provide more consistent positioning and connection quality.
After welding, the connection points are inspected before the battery moves to the next production stage.
This step is one of the most important parts of battery pack assembly because the quality of the electrical connections directly affects how the pack performs as a complete system.
After the welding process is finished, the battery is inspected again.
Workers also remove small debris or remaining materials inside the enclosure.
Keeping the internal area clean is important before wiring and electronic components are installed.
The battery is then ready for the next stage of assembly.
The top panel contains several important user and system interfaces.
Depending on the battery configuration, these can include:
· Power switch
· Indicator lights
· Communication ports
· Battery terminals
· Other electrical connections
The panel is mounted to the battery enclosure before the internal wiring is completed.
The sampling wires are then installed inside the battery.
Metal plates are first used to hold the wires in position. The sampling wires are fixed and then organized into a cleaner wire harness.
The wires are also bundled and secured.
Good internal cable management is not only about appearance. It helps keep the wiring organized and reduces unnecessary movement inside the battery enclosure.
The top panel, circuit board, cells, and other components now need to be connected together.
Workers install the remaining cables and copper connections and secure them with screws.
The wire harnesses are also tied and fixed in place.
A dedicated screw-tightening tool is used during this stage to make sure the required connections are properly secured.
At this point, the battery pack is close to its final electrical configuration.
After assembly and wiring are completed, the battery enters the testing stage.
The battery undergoes charge and discharge testing, while testing staff monitor operating data on the computer.
The system can display information such as:
· Battery voltage
· Current
· Temperature
· Charge and discharge curves
The purpose of this stage is to confirm that the assembled battery operates normally before final assembly is completed.
For buyers, distributors, and energy storage installers, this step is especially important because the value of a battery is not only in its specifications. The finished pack also needs to perform correctly as a complete system.
Once testing is complete, the battery cover is installed.
The enclosure protects the internal battery cells, electronics, wiring, and connections from normal external dust and contact.
After the final assembly, the product has the appearance customers see when the battery is delivered.
From the outside, it is a clean wall-mounted home battery.
Inside, it is the result of multiple assembly, connection, inspection, and testing steps.
When choosing a home energy storage battery supplier, specifications such as voltage, capacity, and communication compatibility are important.
But specifications only tell part of the story.
Customers should also understand how the battery is assembled and tested.
A clear production process can help answer practical questions such as:
· Are individual cells checked?
· Are production records kept?
· How are the cell connections made?
· How is the internal wiring organized?
· Is the completed battery tested before final assembly?
These details can be especially important for distributors, installers, system integrators, and OEM customers who need consistent products across multiple orders.
ThinkVolt provides LiFePO4 home energy storage battery solutions for residential energy storage applications.
If you are looking for a wall-mounted battery for distribution, installation, system integration, or OEM/ODM projects, our team can provide product specifications and project information based on your requirements.